Installing A Head Unit
So you want to install a new radio in your Miata. The question is, how the hell do you go about doing it? With the right tools it's very easy. Before you put a new radio in, you need to pick out your new radio. Keep these things in mind when selecting a radio: What is my budget? Is it made by a reputable company? Can it handle expansion as I upgrade my system? What are my needs? If you just want something newer that will have an easier time reading CD-R and CD-R/W's, an inexpensive (<$250) radio will be plenty for what you want. If you want something that's nice but you're not intent on entering competitions, something in the $250-$400 will probably be sufficient. If you want something for competitions, you probably already know what you want, so get it!
Before you begin installation, make sure you have your tools within reach! You'll maximize your time and minimize frustration by not having to get up every 10 seconds for a new tool.
For this task, you're going to need:
- Wire cutters/strippers
- Soldering Iron & Solder
- Electrical Tape or
- Shrink Tubing & Heat Gun
- Stereo Owners Manual/Wiring Diagram
- Blaupunkt Tool
- Wiring harness from circuit city (MAKES LIFE SO MUCH EASIER!) Miata-->universal
Got all that? OK, let's start.
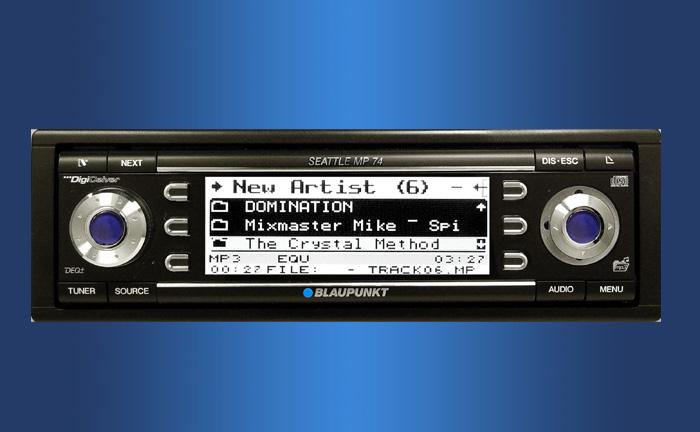
The install today is using the Seattle MP74 head-unit from Blaupunkt. It's a very versatile piece that includes a motorized display, detacheable face-plate, 3 4-V pre-outs, and a classy design that really fits the interior of the Miata. You can pick one of these up for about $429.95 MSRP at any Blaupunkt dealer. Start by removing your old stereo using the set of removal tools packaged with your new receiver.
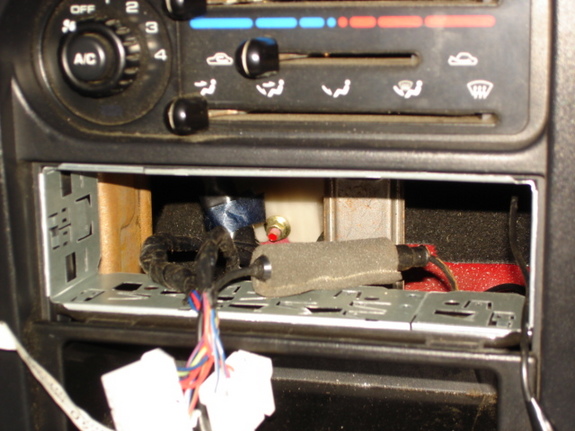
After you remove your stereo, what you should have left is this (minus the aluminum cage. My previous stereo was a Pioneer). If you have one of these cages, leave it in. You'll need it. If not, use the one provided with the receiver. Remember to bend the little triangles down. They keep your stereo in place over rocky roads and it is a great anti-theft measure.
Wire up the wiring harness from circuit city to the harness Blaupunkt gave you. Consult the back of the Blaupunkt manual for proper wiring diagrams. It's mostly color matching. If you can recognize patterns, you can do this part of the install. Take your time, strip the wires back 3/4", twist the connections, and by all means: SOLDER! You won't notice a difference at first, but over time a non-soldered connection will oxidize and begin to sound like crap. Do it right the first time! Remember to electrical tape (or shrink wrap) your wires to keep them from shorting out and/or oxidizing.
Once you solder up the harnesses, install them into the existing Mazda harness. Put the antenna cable into the Blaupunkt antenna adapter provided with your receiver. Install this into the back of the radio. Install the other harnesses into the back of the radio. If at this point you want to install RCA's for your amplifiers, follow the instructions in the back of the owner's manual for installing the harness. It's quite simple. If you have any questions, e-mail me and I'll help you to the best of my ability!
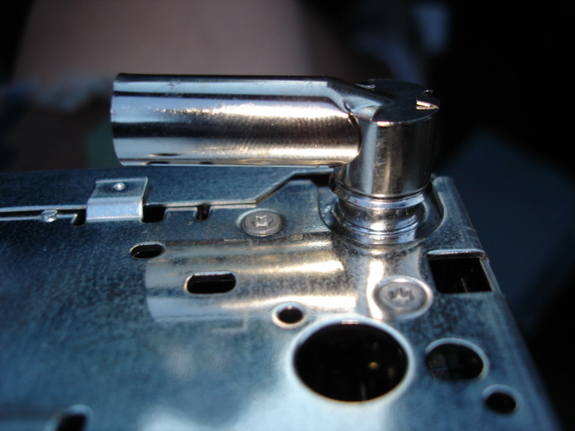
Now just slide the receiver body into the aluminum cage (you did remember to fold down the tabs, right?) until you hear it click. The click means it's locked in place only able to be removed by the provided Blaupunkt removal tools. Install the face-plate and listen to the sound of a high-end stereo. When you're all finished make sure to clean up your car. Wouldn't want to have the stereo being the best looking part of the car, now would you!?